

Many owners of startups and small enterprises avoid digital transformation due to perceived costs, effort, lack of guarantees to complete the project properly, and doubt about getting quick, clear technical support from experienced professionals to ensure continuous, trouble-free operation.
Store for Every Enterprise Initiative: The Ultimate Solution for Digital Transformation
Therefore, digital marketing and IT expert Mohamed Al-Moallem launched the initiative titled “Store for Every Enterprise” in 2020, with continuous updates through 2026. This initiative started simply by providing limited web hosting and creating online stores using open-source WordPress with premium licensed plugins completely free of charge. Technical support was provided free through dedicated WhatsApp groups for beneficiaries.
Launch of the Begin Platform for Self-Built E-Commerce Stores
After nearly a year and a half, Mohamed Al-Moallem moved to the second phase of the initiative by launching the Begin platform, dedicated to self-building online stores without needing a programmer, developer, or technical expert. It offers ease of use, one-click plugin activations, and numerous ready-made design templates for various websites and e-commerce stores.
What Are the Steps to Create a Free Website or E-Commerce Store for My Enterprise?
First: Visit the Begin Platform Website
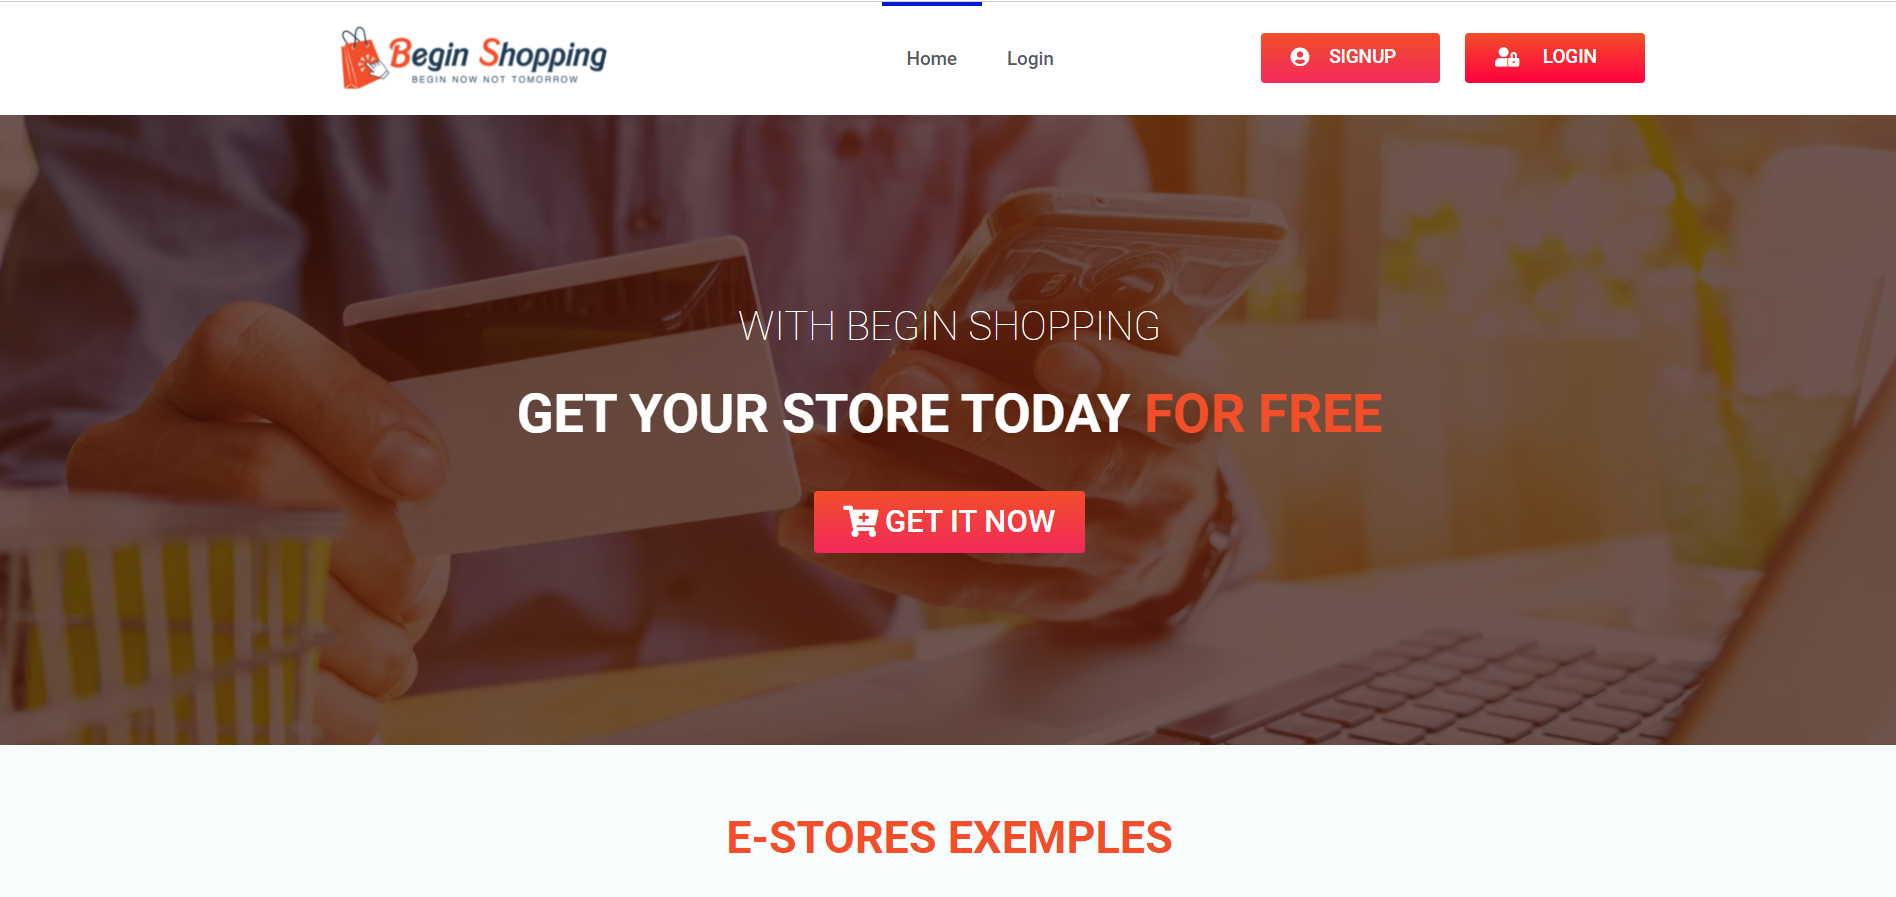
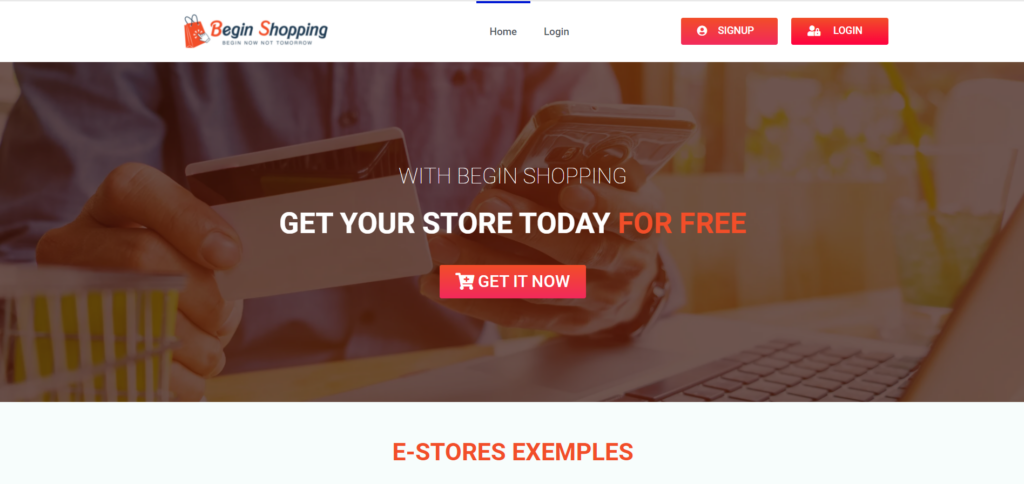
To create a free e-commerce store for your business, visit the platform link ( marketing.limited ) and click on Signup or GET IT NOW.
Second: Start Registration on Begin
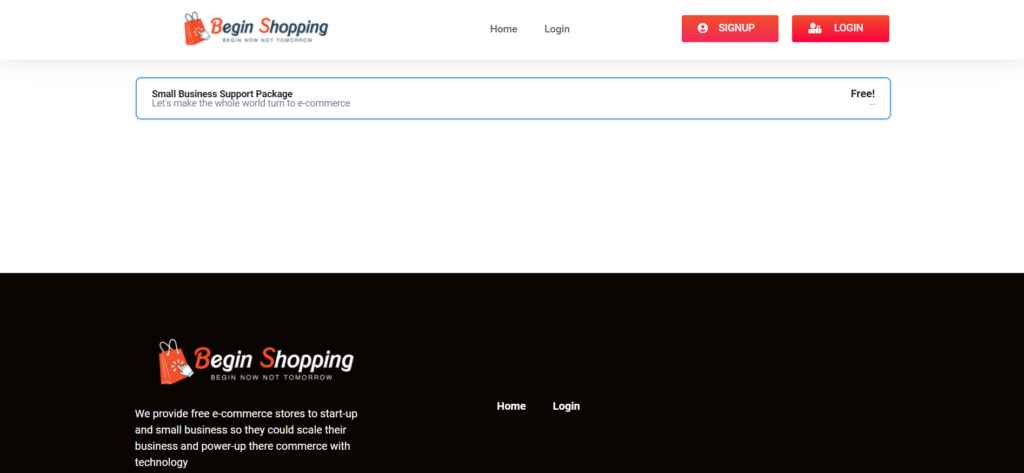
After clicking ( Signup ) or ( GET IT NOW ), the following window will appear, allowing you to select the free package ( Small Business Support Package ).
Third: Choose the Right Design for Your Store
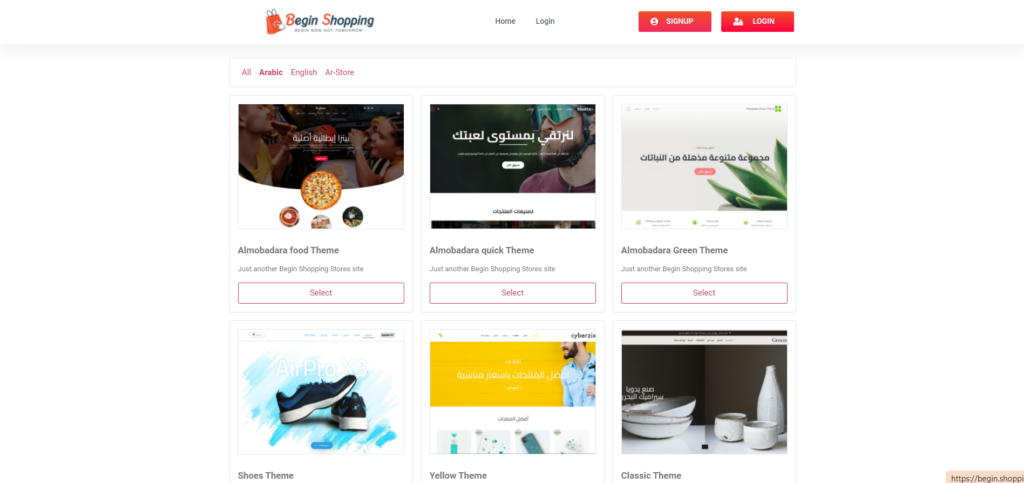
After selecting the Small Business Support Package, you will proceed to a page showcasing ready-made templates. Click ( Select ) on the template that fits your project. You can preview templates by clicking on their preview images and filter templates by your preferred language (Arabic or English).
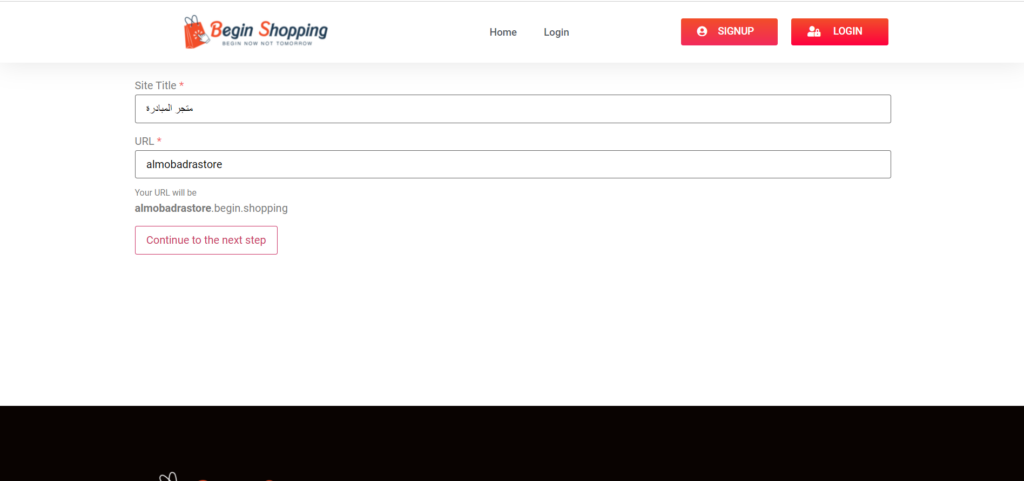
Fourth: Choose a Domain Name for Your Store
In this step, enter your store name and select your subdomain ( e.g., name.marketing.limited ). You can also add your own custom domain after completing store setup via the control panel. After filling in the details, click ( Continue to next step ).
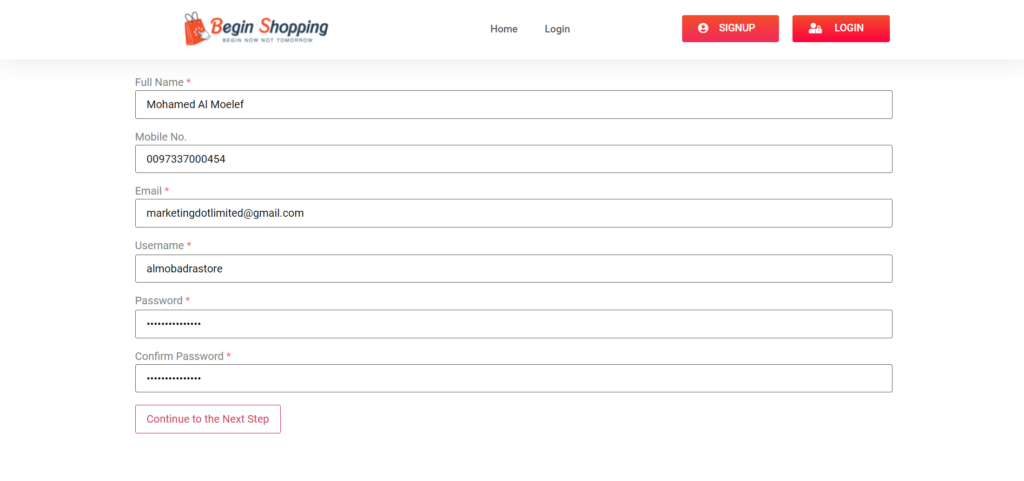
Fifth: Register Your Information, Username, and Password
Fill out the form with your correct details and email address. You will need to verify your email in subsequent steps to activate your online store. Then click ( Continue to next step ).
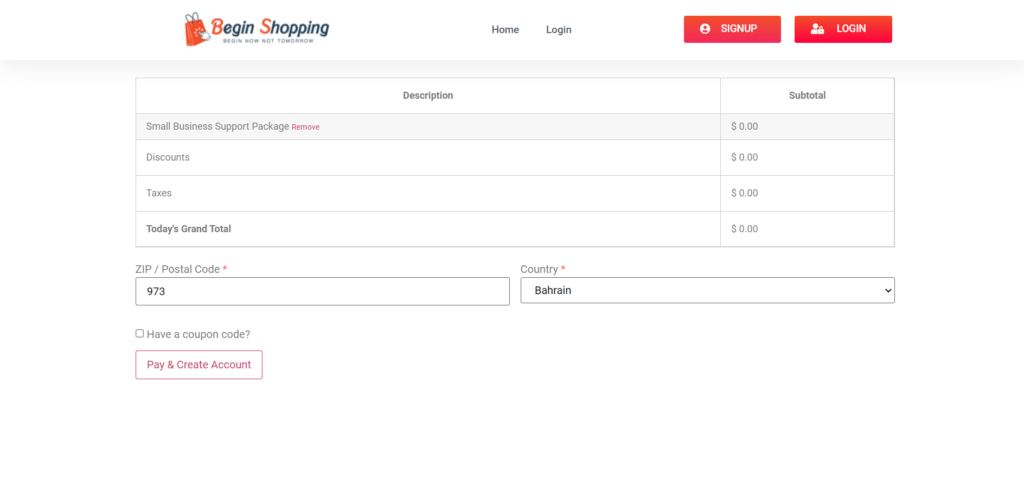
Sixth: Confirm Store Order and Create Account
Select your country of residence and enter your postal code (if you do not have one, enter any 3 digits). Then click ( Pay & Create Account ) to proceed to the final step.
Note: The store is completely free. The word “Pay” appears on the button because it is a valuable service discounted to zero to support small, micro, and home-based businesses.
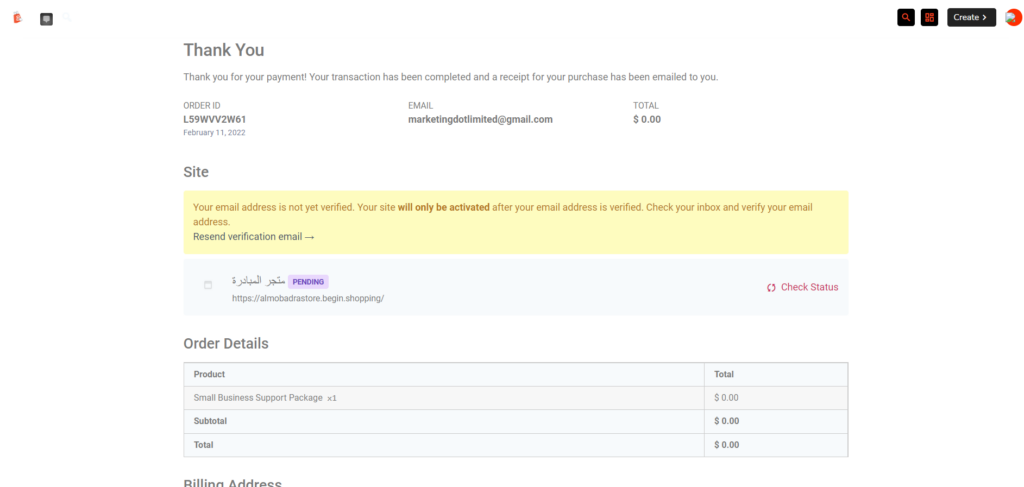
Seventh: Order Summary
The following page indicates that you have completed the platform request steps. You only need to verify your email address to activate your store.
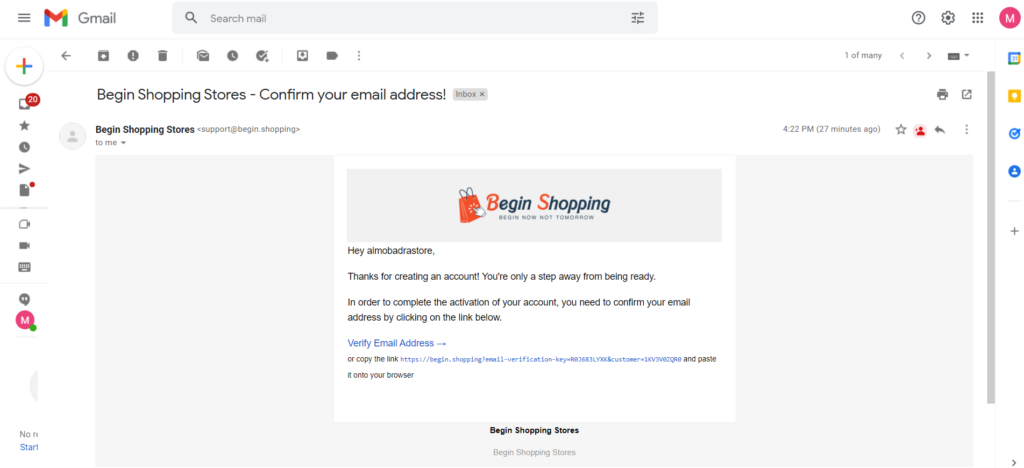
Eighth: Confirm Email Address
You will receive an email titled ( Begin Shopping Stores – Confirm your email address! ). Open it and click ( Verify Email Address ) or copy and paste the provided link into your browser.
Note: If you cannot find the email in your Inbox, please check your Spam folder.
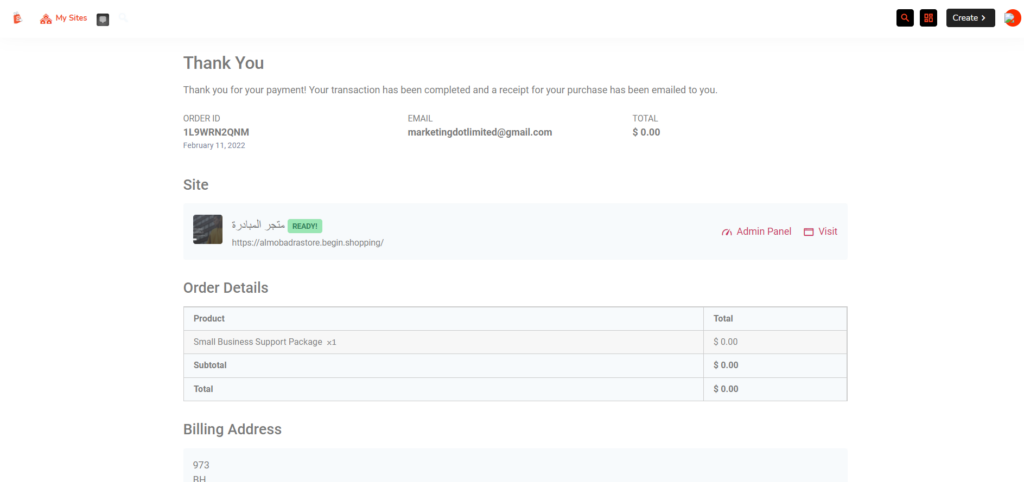
Ninth: Store Creation Complete
After verifying your email, a confirmation page will display a green ( Ready ) badge next to your store name.
You will also see two links: one to visit your store ( Visit ) and another to access your control panel ( Admin Panel ). Your store link will be ( name.marketing.limited ), and control panel access will be at ( name.marketing.limited/wp-admin ).
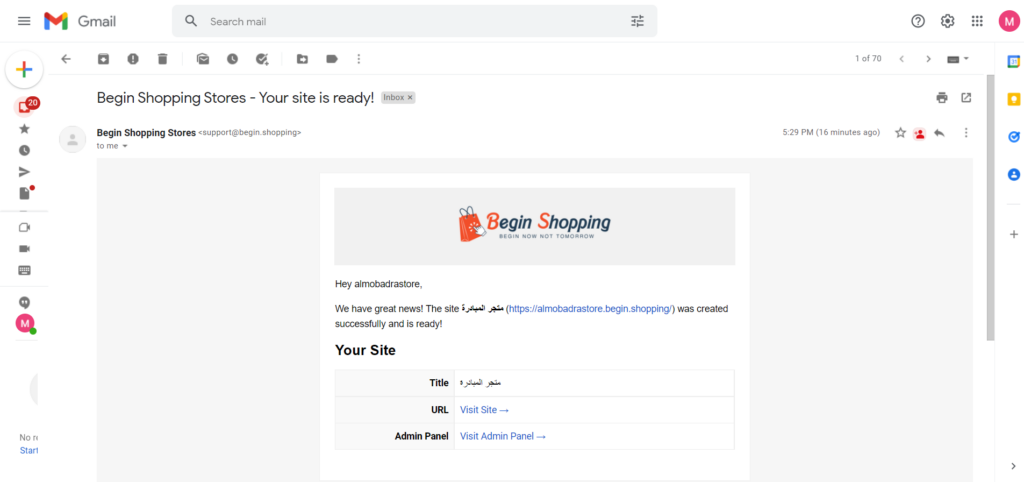
Tenth: Email Notification with Credentials
You will receive a follow-up email containing your store URL and login credentials. You can log in using your registered username/email and password.
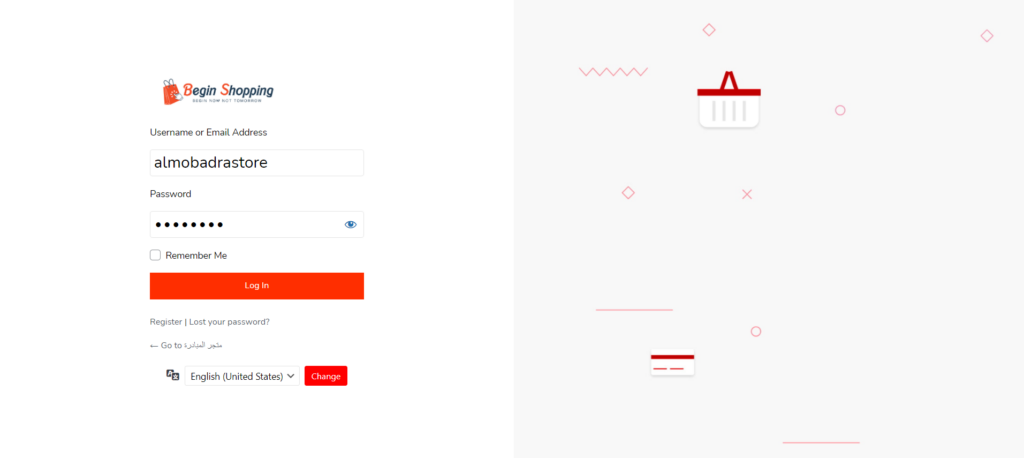
How Can I Access My Store’s Admin Panel?
If your store URL is ( https://name.marketing.limited ), append ( wp-admin ) to log in at ( https://name.marketing.limited/wp-admin ). Enter your username and password on the login screen.
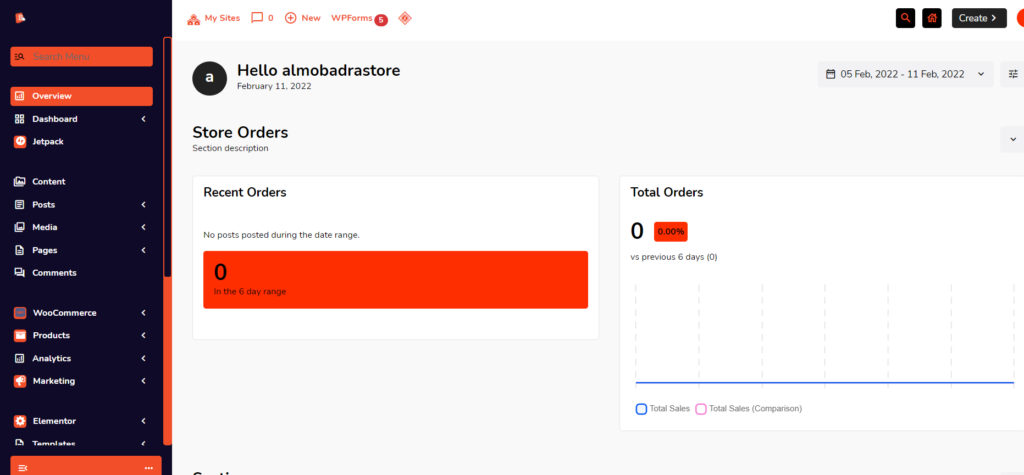
Upon logging in, you will access the admin dashboard to view key stats, manage content, add products, and configure settings using the sidebar menu.
Can I Add a Custom Domain Name to My Online Store on Begin?
Yes! You can connect any domain name ( www.domainname.com ) purchased from any registrar by navigating to the Account page at the bottom of your sidebar menu.
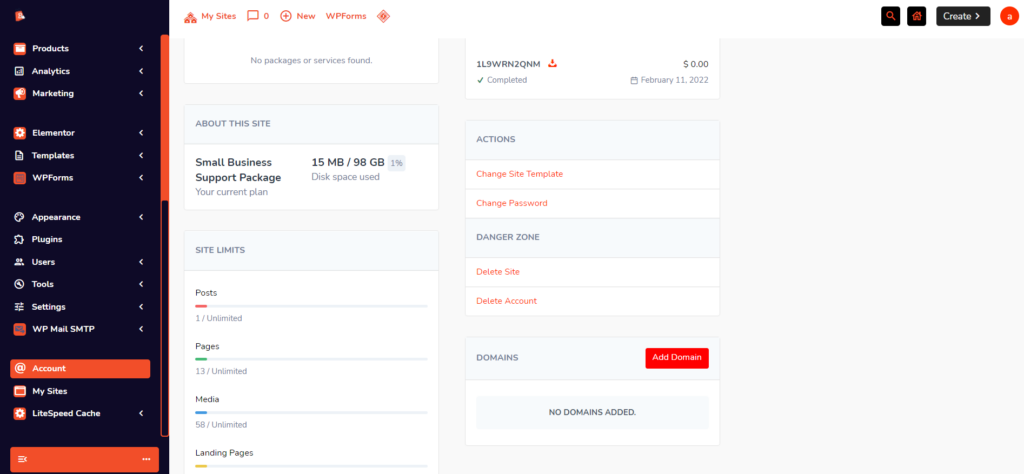
Click Add Domain and configure a CNAME record in your DNS manager pointing to ( marketing.limited ). Enable SSL for your domain using free DNS managers like Cloudflare or quic.cloud.
We will provide a dedicated guide explaining step-by-step how to add your custom domain to Begin easily without technical background.
Conclusion
Thank you for supporting our initiative aimed at empowering small and home-based businesses in digital transformation and e-commerce. Your journey toward achieving your goals and expanding sales through the BEGIN platform drives our dedicated team every day.